In the world of interior design, there is a fine line between a shelf that looks like a cluttered storage unit and one that looks like a curated gallery. We’ve all seen the “shelfie” goals on Pinterest, those perfectly balanced, effortless-looking arrangements that make a room feel complete.
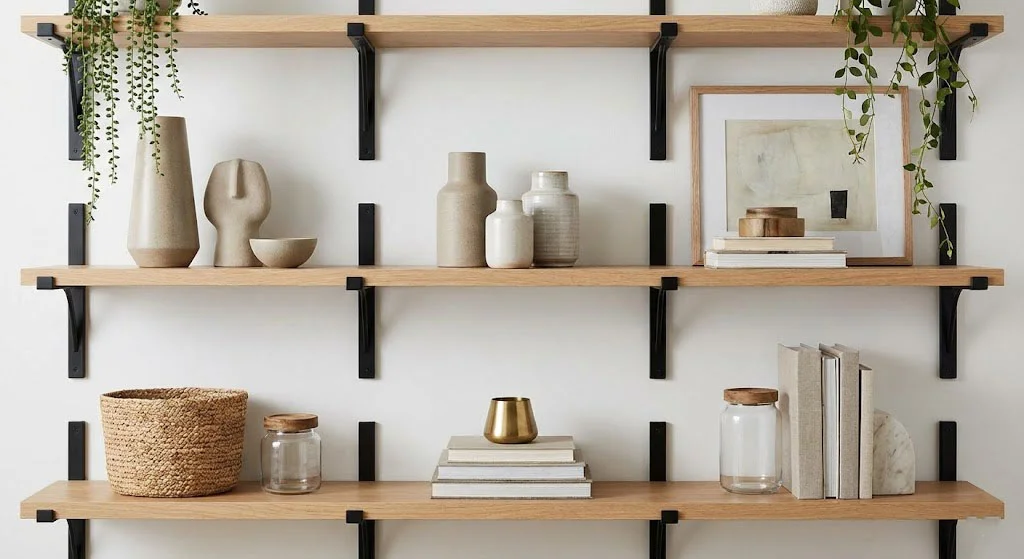
The secret to achieving that high-end look in 2026 isn’t about buying expensive trinkets; it’s about understanding the principles of composition. Whether you are using solid wood shelves with industrial metal brackets or sleek minimalist planks, these designer secrets will help you transform your walls into a masterpiece of “Organic Modern” style.
The Foundation: Start with Quality Materials
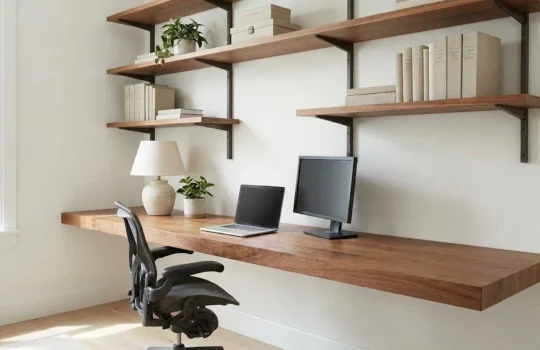
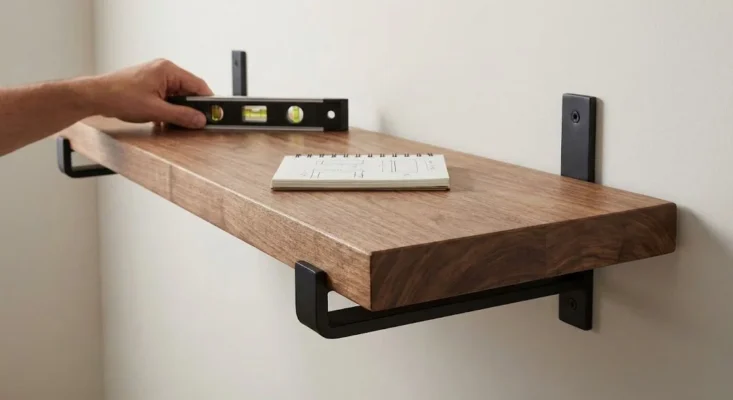
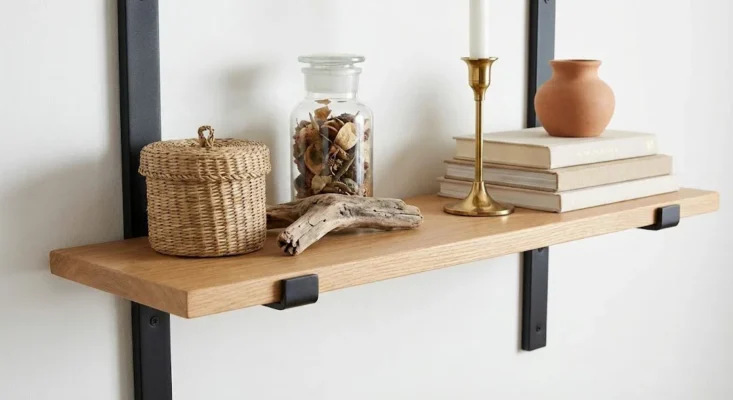
Before you place a single object, you must consider the stage. Professional designers favor solid wood shelves because they provide a natural warmth and texture that synthetic materials simply cannot replicate. The visible grain of Oak, Walnut, or Acacia acts as a “neutral texture” that complements almost any decor.
Furthermore, the choice of metal brackets adds a crucial structural element. Whether in matte black, brushed brass, or raw steel, brackets provide a “frame” for your styling, giving the shelf an architectural presence that feels intentional and permanent.
Rule #1: The Power of the Triangle Composition
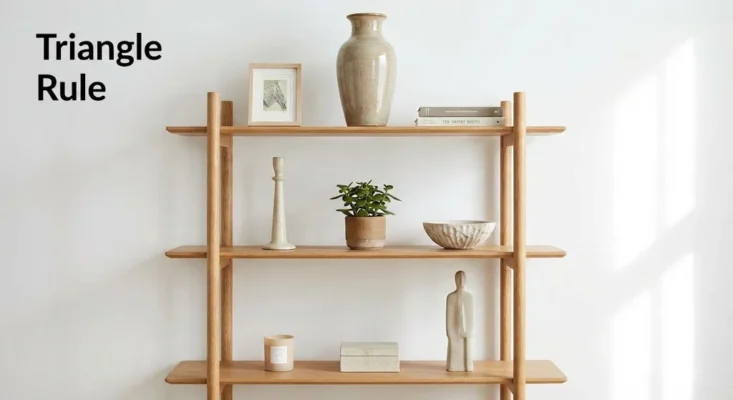
The most common mistake in DIY shelf styling is lining items up in a straight row. This creates a flat, boring visual. Instead, designers use the “Triangle Rule.”
Imagine an invisible triangle. Place a tall object (like a vase) at the apex, and two smaller objects (like a candle and a small bowl) at the base. Repeat this “triangular” grouping across different levels of your shelving. By staggering the heights and alternating the positions of these triangles, you lead the eye in a rhythmic zigzag pattern across the wall, creating a sense of dynamic balance.
Rule #2: The Rule of Three (and Odd Numbers)
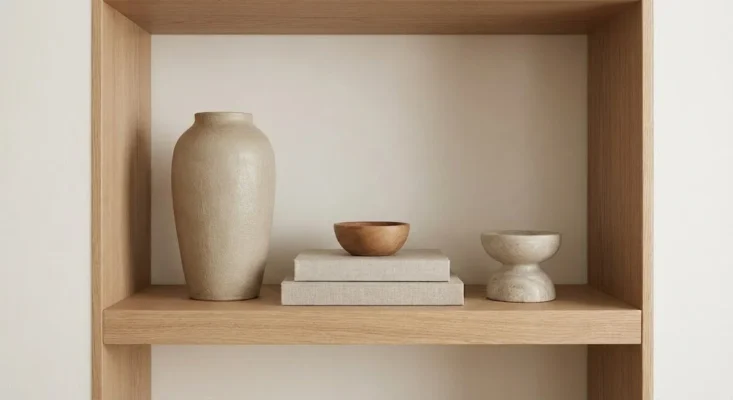
There is a psychological quirk in human perception: we find odd-numbered groupings more appealing than even ones. Three is the magic number.
When grouping items on your wood shelf, try to stick to sets of three. A grouping of three objects of varying heights—one tall, one medium, one short—creates a “mini-story.” This prevents the arrangement from looking too symmetrical or “stiff,” which is a core tenet of the Wabi-sabi and Japandi aesthetics trending this year.
Rule #3: Layering Depth – Front to Back
Think of your shelf as a 3D stage, not a 2D line. To create a professional look, you must use the depth of the shelf.
-
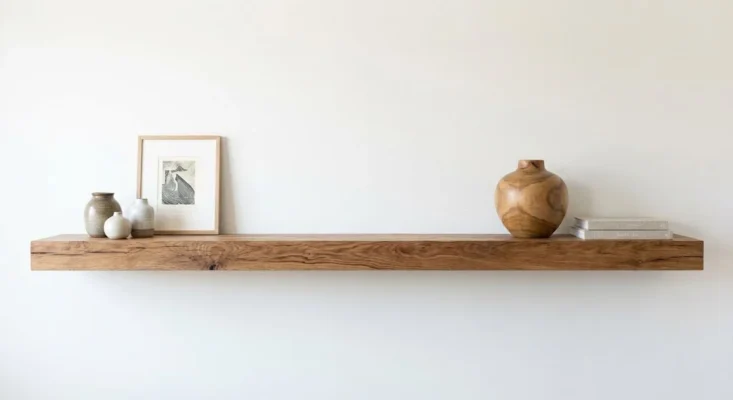
The Background: Start by leaning a large item against the wall. This could be a piece of framed art, a large wooden cutting board, or even a decorative tray.
-
The Middle Ground: Place your primary objects—like a stack of books or a pitcher—in front of the leaning item.
-
The Foreground: Finish with a small “treasure,” such as a brass object, a sea shell, or a small air plant, tucked slightly in front of the others. This layering creates shadows and depth, making the shelf feel “collected” over time rather than “bought” all at once.

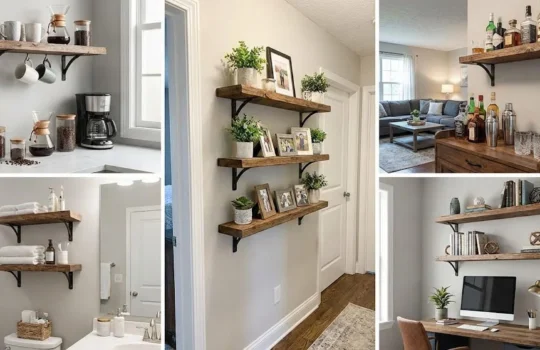
Rule #4: Mix Textures, Not Just Colors
A shelf decorated entirely in one material (all glass or all ceramic) feels flat. Designers mix textures to create visual interest.
If you have a smooth wood shelf with matte metal brackets, contrast those materials with:
-
Rough/Organic: A woven seagrass basket or a piece of driftwood.
-
Shiny/Reflective: A glass jar or a polished brass candle holder.
-
Soft/Matte: Linen-bound books or a piece of unglazed terracotta. The contrast between the “hard” metal hardware and “soft” organic decor is what defines the popular Organic Modern look of 2026.
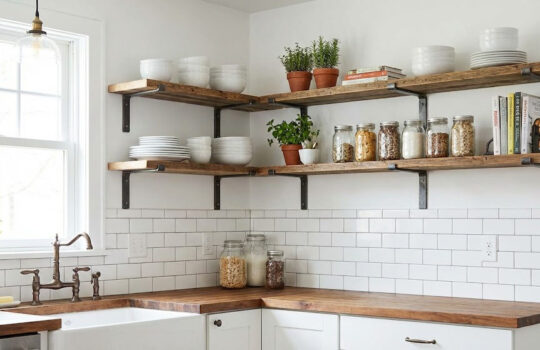
Rule #5: The Importance of Negative Space
The most important rule of styling is knowing when to stop. Professional designers call this “White Space” or “Negative Space.”
If every inch of your wood shelf is covered, the eye has nowhere to rest, and your beautiful decor becomes “visual noise.” Leave gaps between your groupings. These pauses allow the hero pieces—like a particularly beautiful wood grain or a unique sculpture—to stand out. Remember: a shelf should be a curated selection, not a storage locker.
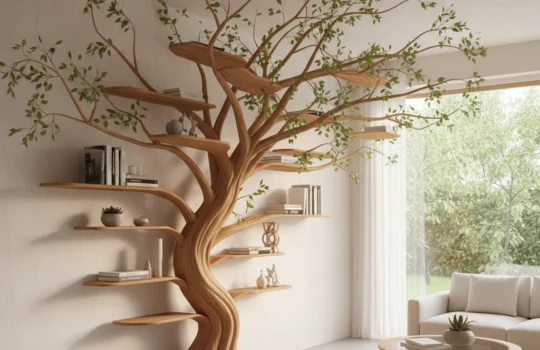
The “Living” Finish: Biophilic Design
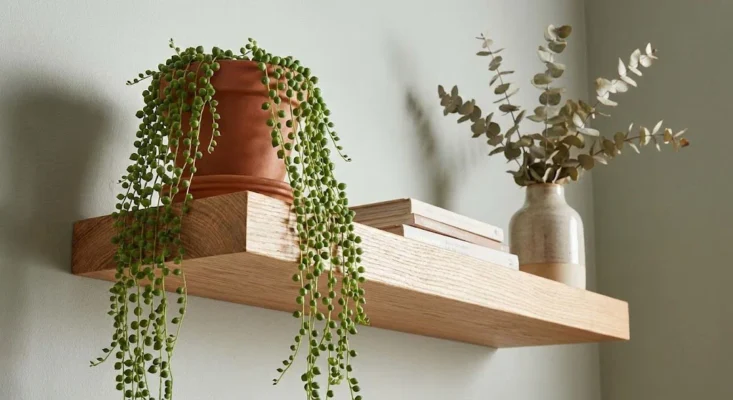
No shelf is complete without something living (or that once was). Plants soften the hard lines of the wood and metal.
-
Trailing Plants: A Pothos or “String of Pearls” hanging over the edge of a shelf breaks the horizontal line and adds a sense of “growth.”
-
Dried Elements: If you don’t have a green thumb, a single dried Eucalyptus branch or a piece of pampas grass in a vase adds an organic, Wabi-sabi touch that requires zero maintenance.
Edit with a Camera
The final designer secret? Take a photo. For some reason, our eyes miss clutter, but a camera lens reveals it instantly. Take a picture of your styled shelf, look at it on your screen, and you will immediately see what needs to be moved or removed.
Styling 101 is about trial and error. With a high-quality set of solid wood shelves and sturdy metal brackets, you have the perfect foundation. Now, go ahead—play with triangles, layer your treasures, and create a space that tells your story.